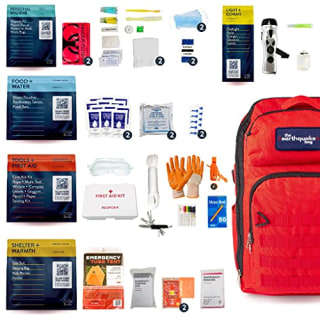
What to Buy for Survival Kit: Essential Gear for Every Emergency
FEMA recommends every household keep a 3-day emergency supply kit on hand to cover unexpected events, from winter ice storms that knock out power for days, to flash floods that cut off road access with minutes of warning. A well-stocked survival kit isn’t just for off-grid enthusiasts or doomsday preppers—it’s a practical, low-cost way to keep your household safe during common, unplanned emergencies. If you’re unsure what to buy for a survival kit that balances portability, usefulness, and official guidance, this guide breaks down every essential category, with specific product recommendations and common mistakes to avoid. We’ve organized this list to align with FEMA’s official emergency supply guidelines, so you can build a kit that works for your household’s unique needs, whether you’re storing it in a closet, car, or go-bag.
 Credit: trueprepper.com
Why a Dedicated Survival Kit Matters
Many households rely on grabbing last-minute items during an emergency alert, but this approach often leads to forgotten critical supplies, especially if you’re evacuating quickly or dealing with a sudden power outage. A dedicated, pre-assembled kit stored in an accessible location eliminates that risk, and ensures you have everything you need without scrambling. We recommend storing kits in three key locations: your home (for extended outages), your car (for roadside emergencies or evacuation), and your workplace (if you’re away from home when disaster strikes). You can also read our guide on masked forces zombie survival unblocked games.
Basic Survival Tools
Basic survival tools form the foundation of any kit, enabling you to complete critical tasks like building shelter, preparing food, and signaling for help when modern infrastructure is unavailable. Prioritize versatile, durable options that serve multiple use cases to save space and weight.
Cutting Tools
A reliable cutting tool is the most versatile item in your kit, used for everything from preparing food and cutting cordage to first aid (removing tight clothing near injuries) and shelter building. For most users, a fixed-blade knife with a 3–4 inch full-tang blade is more durable than a folding knife, as it can withstand prying, batoning wood, and heavy use without breaking. If you opt for a folding multi-tool, look for one with a lockable blade, bottle opener, and pliers to cover extra use cases. When selecting gear, prioritize reputable brands with transparent manufacturing processes—you can even review quality blade manufacturing standards to avoid low-quality steel that dulls quickly or breaks under stress. A common mistake is packing a small, decorative pocket knife that can’t handle heavy-duty tasks; always test your cutting tool on thick cardboard or small branches before relying on it in an emergency. For guidance on selecting the right blade for your needs, explore our breakdown of reliable cutting tools for every use case. You can also read our guide on best fixed blade knife for survival.
Fire Starters
Fire serves three critical survival functions: warmth, water purification, and signaling for rescue. Relying on a single fire-starting method is a common error—always pack at least two redundant options. The most reliable choice for all conditions is a ferrocerium rod, which creates sparks even when wet, and can last for 10,000+ strikes. Pair this with waterproof matches (stored in a sealed plastic case) and a butane lighter (check that it’s designed for high altitudes if you live in a mountainous region) for backup. Avoid disposable lighters with plastic tops, as they can melt in high heat. Practice starting a fire with your chosen tools before an emergency hits—fumbling with unfamiliar gear in cold, wet conditions will waste time and energy. To learn more about specialized fire-starting blade features, check out our guide to specialized blade features for survival tools.
Lighting
A reliable light source is non-negotiable for navigating dark spaces, signaling rescuers, and performing first aid after dark. LED flashlights are the standard for survival kits, as they use 75% less battery power than incandescent bulbs and last 25x longer. Look for a model with at least 200 lumens of brightness, a strobe setting for signaling, and impact-resistant housing. Always pack extra batteries stored in a separate sealed pouch to avoid corrosion, and consider a hand-crank or solar-powered flashlight as a backup for long-term outages. Headlamps are a useful add-on for hands-free tasks like cooking or building shelter, and take up minimal space in your kit. You can also read our guide on ark survival water tank just rain plants.
Water and Hydration
Water is the single most critical supply for survival: the human body can only survive 3 days without it, and dehydration impairs judgment and physical ability within hours. Prioritize redundant water storage and purification options to cover both short-term outages and long-term disruptions to municipal water supply.
Water Storage
FEMA recommends storing 1 gallon of water per person per day, for a minimum of 3 days (14 gallons for a 2-person household). This amount covers both drinking and basic hygiene needs like brushing teeth and washing wounds. Store water in BPA-free plastic or stainless steel containers with airtight, leak-proof lids—avoid containers that previously held sugary drinks or chemicals, as residual sugars or toxins can contaminate your water supply. For car kits or go-bags, collapsible water pouches are a space-saving alternative, as they flatten to less than 1 inch when empty. Rotate stored water every 6 months to prevent bacterial growth, and label each container with the fill date to keep track of expiration. You can also read our guide on emergency preparedness long term survival.
Water Purification
If you run out of stored water, you’ll need to safely treat water from natural sources like streams, rain, or even contaminated tap water. As outlined in official CDC guidance, a combination of methods is the most reliable way to make untreated water safe to drink during emergencies: first, filter water through a portable 0.1 micron filter to remove sediment, bacteria, and protozoa, then treat it with chlorine dioxide tablets to kill viruses (filters alone do not remove viruses). Boiling water for 1 minute (3 minutes at altitudes above 6,500 feet) is also 100% effective at killing pathogens, but requires fuel and a heat-proof container. Avoid relying on chemical treatments alone, as they are less effective in very cold or cloudy water.
Emergency Water Pouches
Pre-packaged emergency water pouches are a convenient add-on for go-bags, car kits, and workplace emergency supplies, as they have a 5-year shelf life, require no preparation, and are resistant to temperature extremes. Keep 2–4 pouches (each holding 4–8 ounces) in every kit for quick access if you can’t reach your stored water supply. For longer-term outages, add a 1-gallon jug of purified water to your home kit to cover the first 24 hours before you can treat additional water. You can also read our guide on survival shelters made of snow.
Food and Nutrition
In a high-stress emergency situation, the average adult needs 1,200–1,500 calories per day to maintain energy for tasks like clearing debris, walking to evacuation centers, or caring for family members. Choose high-calorie, nutrient-dense foods that require no cooking, minimal preparation, and have a shelf life of at least 2 years. Avoid foods that are high in sodium, as they can increase dehydration in warm conditions. If you have household members with dietary restrictions (gluten-free, vegan, allergy-friendly), pack dedicated supplies for them to avoid cross-contamination or running out of safe options.
Non-Perishable Staples
Classic non-perishable staples like canned beans, tuna, dried fruit, nuts, and beef jerky are affordable, shelf-stable, and require no preparation to eat. For home kits, pack a manual can opener (many people forget this critical tool!) alongside canned goods. For go-bags, opt for individually wrapped snacks to avoid mess and make portion control easier. A common mistake is packing only sweet snacks, which can cause energy crashes; aim for a 2:1 ratio of salty to sweet items to maintain electrolyte balance. You can also read our guide on emergency preparedness survival backpack kits.
Freeze-Dried and Ready-to-Eat Meals
Freeze-dried meals are the gold standard for long-term survival kits, as they are lightweight, compact, and have a 25–30 year shelf life when stored in a cool, dry place. Each meal typically provides 500–800 calories and only requires 1–2 cups of water to rehydrate. Look for options with balanced macros (protein, carbs, fats) rather than pure carb-heavy meals like plain rice or pasta, as protein helps maintain muscle mass and focus during extended emergencies. If you have limited storage space, pack 2–3 freeze-dried meals per person for every 3 days of supply, and pair them with a portable camp stove and fuel canister for heating.
Supplements and Special Add-Ons
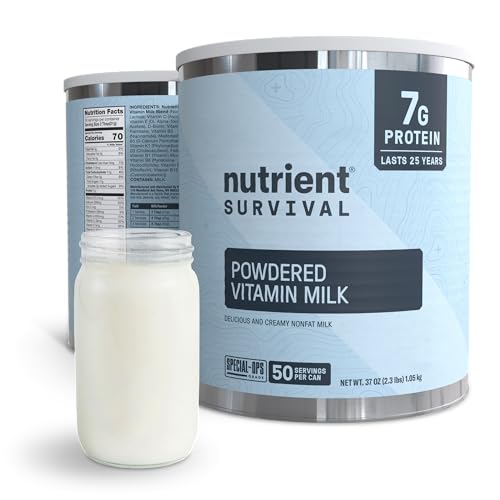
Electrolyte tablets, powdered meal replacement shakes, and vitamin supplements are useful for covering nutritional gaps if you’re relying on limited rations for more than 3 days. Electrolyte tablets are especially important in hot conditions or if you’re experiencing illness that causes dehydration (like diarrhea or vomiting). For households with infants or elderly members, pack specialized supplies like formula, baby food, or easy-to-chew soft snacks that meet their unique nutritional needs.
Shelter and Temperature Regulation
Hypothermia can set in at temperatures as low as 50°F if you’re wet or exposed to wind, so staying dry and insulated is a top priority during emergencies. The right shelter and clothing gear will protect you from the elements even if you’re trapped in your home or stranded in your car.
Shelter Options
An emergency Mylar blanket (which reflects 90% of body heat) is a must-have for every kit—it weighs less than 2 ounces and can be used as a ground cover, shelter liner, or rain poncho in a pinch. For longer-term outages, pack a lightweight 1-person tarp with paracord ties, which can be rigged as a tent, lean-to, or ground cover in under 5 minutes. Avoid heavy, bulky tents for go-bags, as they take up too much space and are slow to deploy.
Clothing and Layering
The layering principle is the most effective way to regulate body temperature in changing conditions: a moisture-wicking base layer (polyester or merino wool, never cotton, which stays wet and cold), an insulating mid-layer (fleece or down), and a waterproof, windproof outer shell. Pack an extra set of socks and gloves for every household member, as wet extremities are the fastest route to hypothermia. If you live in a cold climate, add a wool hat and balaclava to your kit, as 30% of body heat is lost through the head.
First Aid and Health
Even minor injuries like cuts, sprains, or burns can become life-threatening if left untreated during an emergency when medical care is unavailable. A well-stocked first aid kit, paired with basic training, will help you manage common health issues and stabilize more serious injuries until help arrives.
Core First Aid Supplies
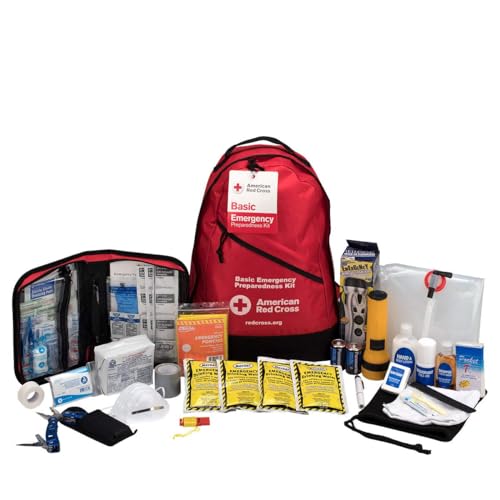
A basic first aid kit should include adhesive bandages (various sizes), sterile gauze pads, medical tape, antiseptic wipes, tweezers, scissors, disposable gloves, instant cold packs, elastic bandages for sprains, and a CPR face mask. For home kits, add trauma supplies like a tourniquet and chest seal, which can stop life-threatening bleeding in the minutes before emergency responders arrive. FEMA recommends taking a basic first aid and CPR course every 2 years to ensure you know how to use these supplies correctly—packing gear you don’t know how to use is useless in an emergency. Check your kit every 6 months to replace expired or used items.
Medications and Personal Health
Pack a 7–14 day supply of all prescription medications for household members, stored in a labeled, airtight container protected from heat and moisture. For over-the-counter needs, include pain relievers (ibuprofen, acetaminophen), antihistamines, anti-diarrheal medication, oral rehydration salts, and burn cream. If you have severe allergies, pack an epinephrine auto-injector (EpiPen) and check its expiration date regularly. For households with infants, pack infant pain reliever, diaper rash cream, and a digital thermometer.
Hygiene and Sanitation
Poor sanitation is one of the fastest ways to spread illness during extended outages when running water is unavailable. Pack hand sanitizer with at least 60% alcohol, biodegradable soap, toilet paper (stored in a waterproof bag), feminine hygiene products, disposable waste bags, and a small trowel for digging catholes if restrooms are unavailable. Avoid scented hygiene products, as they can attract insects or wildlife in outdoor settings.
Personal Safety and Security
Personal safety gear protects you from environmental hazards, airborne irritants, and potential security risks during evacuations or extended outages. Choose items that are legal to carry in your region, and practice using them before an emergency occurs.
Protective Gear
Durable work gloves (leather or cut-resistant synthetic) protect your hands from sharp debris, broken glass, and rough handling of shelter materials. N95 or higher-rated respirator masks protect your lungs from smoke, dust, and mold spores after a fire or flood, while safety goggles shield your eyes from flying debris and irritants. If you live in an area prone to wildfires, add a N95 mask for each household member to your kit, as smoke exposure can cause long-term respiratory damage.
Self-Defense and Legal Considerations
Self-defense tools like pepper spray, tactical flashlights, or personal alarms can provide an extra layer of security if you’re evacuating through crowded areas or staying in a temporary shelter. Before adding these items to your kit, research your local and state laws to ensure they are legal to carry—some regions restrict pepper spray or tactical batons. Choose tools you are trained to use, as fumbling with unfamiliar equipment in a high-stress situation can put you at greater risk.
Storage and Maintenance
A well-organized, regularly maintained kit is the difference between a useful emergency supply and a collection of useless, expired gear. Taking 30 minutes every 6 months to update your kit will ensure it’s ready when you need it most.
Kit Organization
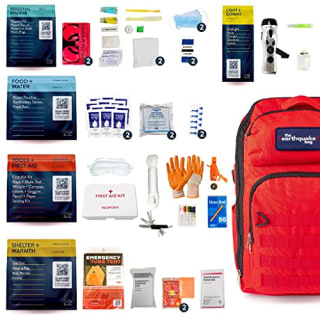
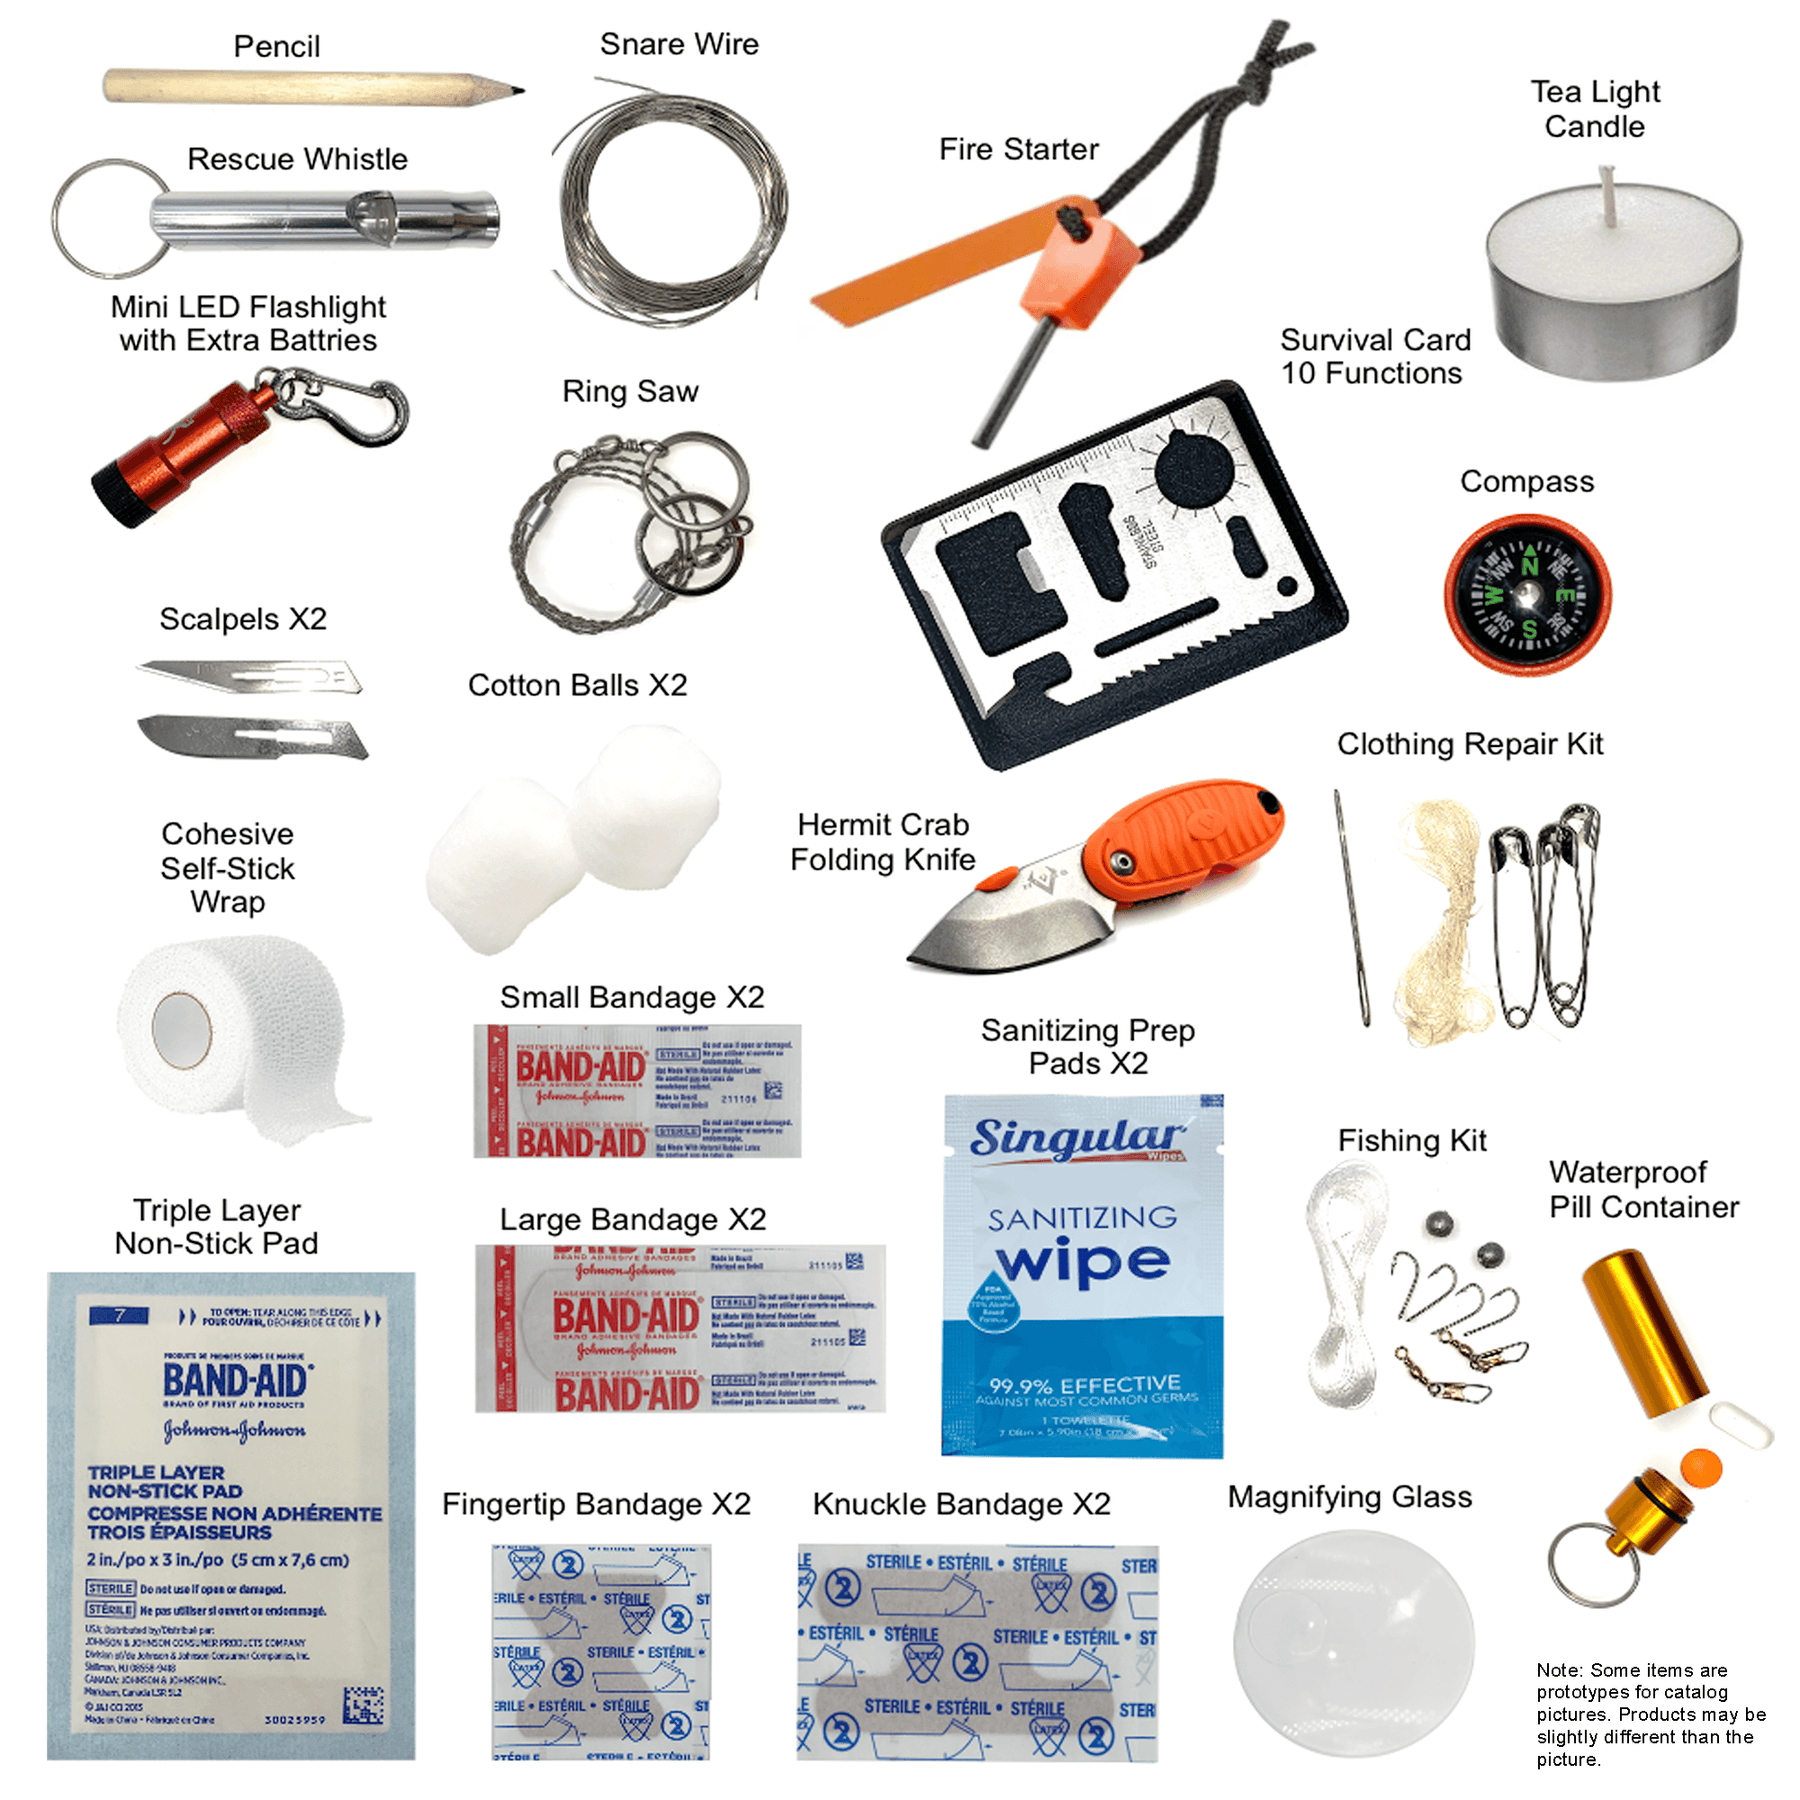
In practice, a common error is throwing all gear into one unorganized bag, which makes finding critical items in a panic nearly impossible. During a household emergency drill, I once wasted 2 minutes digging for a water purifier because it was buried under fire-starting supplies and snacks. Switching to color-coded pouches cut that search time to under 10 seconds, a difference that matters when every second counts. Use a waterproof backpack or duffel bag with multiple compartments for your home kit, and a smaller, lightweight pouch for your car or go-bag. Group similar items together in small waterproof pouches (e.g., fire starting supplies, first aid, navigation) and label each pouch clearly with large, easy-to-read text. Store your kit in a location that is easily accessible to all household members, such as a hall closet near your main exit, and avoid storing it in basements, attics, or garages where temperature extremes can damage supplies. For more tips on packing efficiently, explore our guide to efficient packing systems for go-bags and home kits.
 Credit: www.vnives.com
Kit Rotation and Maintenance
Survival kit supplies expire, degrade, or get used up over time, so regular maintenance is non-negotiable. Set a recurring calendar reminder every 6 months to: 1) Check expiration dates on food, water, medications, and first aid supplies, and replace any expired items; 2) Test all electronic devices (flashlights, radios, chargers) to ensure they work; 3) Update clothing to fit growing children or changing household needs; 4) Rotate stored water and non-perishable food to avoid spoilage. If you use any items from your kit during a minor emergency (like a power outage), restock them as soon as possible to keep your kit fully prepared. If you’re unsure what items to prioritize when building your first kit, refer to our breakdown of core kit priorities for new preppers.
 Credit: trueprepper.com
Frequently Asked Questions
What are the non-negotiable items every survival kit needs?
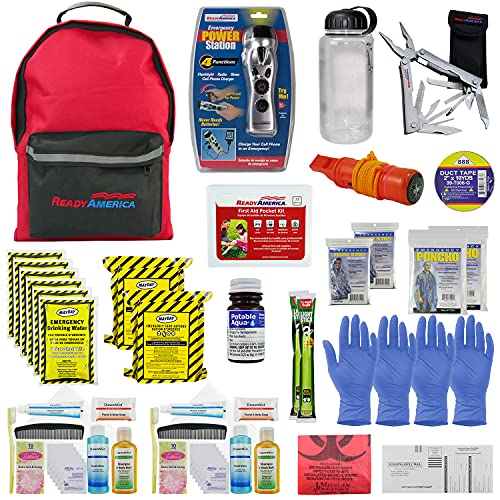
Per FEMA guidelines, the core non-negotiables are: 1 gallon of water per person per day, non-perishable high-calorie food, a basic first aid kit, a multi-tool or fixed-blade knife, fire starting tools, a LED flashlight with extra batteries, an emergency blanket, and a NOAA weather radio. Add region-specific items based on your local risk: ice scrapers and extra blankets for cold climates, sandbags and waterproof dry bags for flood zones, and N95 masks for wildfire-prone areas.
How much water should a 3-day survival kit hold for a family of four?
A 3-day kit for 4 people requires 12 gallons of stored water (1 gallon per person per day). For car kits or go-bags, pack 4–6 emergency water pouches (4–8 ounces each) per person as a backup, since stored water can be difficult to carry during an evacuation.
Why is a multi-tool a better choice than a single knife for survival kits?
A multi-tool combines a knife, pliers, screwdrivers, and bottle opener in one compact device, eliminating the need to pack multiple separate tools. For most emergency scenarios, a multi-tool can handle 90% of small repair, food prep, and first aid tasks, while saving valuable space in your kit. If you have room for a separate fixed-blade knife, prioritize that for heavy-duty cutting tasks like batoning wood or clearing debris.
How often should I rotate the supplies in my survival kit?
Rotate your kit every 6 months, aligning the schedule with seasonal changes (e.g., spring and fall). Check expiration dates on all food, water, medications, and first aid supplies, replace any expired items, and update clothing to fit growing children or changing weather needs. Test all electronic devices (radios, flashlights, chargers) to ensure they work, and restock any supplies you used during minor emergencies like short power outages.
Do I need a separate survival kit for my car?
Yes. Car kits should be smaller and tailored to roadside emergencies: include a blanket, jumper cables, a flashlight, a first aid kit, water, non-perishable snacks, a window breaker, and a seatbelt cutter. Extreme temperatures can cause bottled water to leach chemicals or freeze, so use stainless steel water bottles or insulated pouches for car kits, and check supplies every 3 months to account for temperature damage.
Conclusion
Building a survival kit is one of the simplest, most impactful steps you can take to protect your household during unexpected emergencies. By prioritizing versatile, high-quality gear, aligning your kit with official FEMA guidelines, and committing to regular maintenance, you can avoid the chaos of scrambling for supplies when disaster strikes. Start small this week: pick one category (like water storage or cutting tools) to add to your kit, and work your way through the list over the next month. For region-specific gear recommendations, check out our guide to hurricane-specific kit additions if you live in a coastal or storm-prone area, or learn more about specialized blade features to choose the right cutting tools for your needs. Stay prepared, stay safe.